The Format Class#
This section describes the methods and properties that are available for formatting cells in Excel.
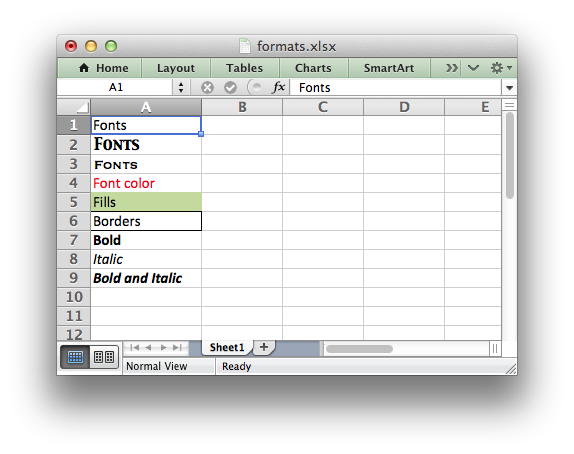
The properties of a cell that can be formatted include: fonts, colors, patterns, borders, alignment and number formatting.
Creating and using a Format object#
Cell formatting is defined through a Format object. Format objects are created
by calling the workbook add_format() method as follows:
cell_format1 = workbook.add_format()       # Set properties later.
cell_format2 = workbook.add_format(props)  # Set properties at creation.
There are two ways of setting Format properties: by using the object interface or by setting the property as a dictionary of key/value pairs in the constructor. For example, a typical use of the object interface would be as follows:
cell_format = workbook.add_format()
cell_format.set_bold()
cell_format.set_font_color('red')
By comparison the properties can be set by passing a dictionary of properties
to the add_format() constructor:
cell_format = workbook.add_format({'bold': True, 'font_color': 'red'})
In general the key/value interface is more flexible and clearer than the object method and is the recommended method for setting format properties. However, both methods produce the same result.
Once a Format object has been constructed and its properties have been set it
can be passed as an argument to the worksheet write() methods as
follows:
worksheet.write       (0, 0, 'Foo', cell_format)
worksheet.write_string(1, 0, 'Bar', cell_format)
worksheet.write_number(2, 0, 3,     cell_format)
worksheet.write_blank (3, 0, '',    cell_format)
Formats can also be passed to the worksheet set_row() and
set_column() methods to define the default formatting properties for a
row or column:
worksheet.set_row(0, 18, cell_format)
worksheet.set_column('A:D', 20, cell_format)
Format Defaults#
The default Excel 2007+ cell format is Calibri 11 with all other properties off.
In general a format method call without an argument will turn a property on, for example:
cell_format = workbook.add_format()

cell_format.set_bold()      # Turns bold on.
cell_format.set_bold(True)  # Also turns bold on.
Since most properties are already off by default it isn’t generally required to turn them off. However, it is possible if required:
cell_format.set_bold(False) # Turns bold off.
Modifying Formats#
Each unique cell format in an XlsxWriter spreadsheet must have a corresponding
Format object. It isn’t possible to use a Format with a write() method
and then redefine it for use at a later stage. This is because a Format is
applied to a cell not in its current state but in its final state. Consider
the following example:
cell_format = workbook.add_format({'bold': True, 'font_color': 'red'})
worksheet.write('A1', 'Cell A1', cell_format)

# Later...
cell_format.set_font_color('green')
worksheet.write('B1', 'Cell B1', cell_format)
Cell A1 is assigned a format which initially has the font set to the color red. However, the color is subsequently set to green. When Excel displays Cell A1 it will display the final state of the Format which in this case will be the color green.
Number Format Categories#
The set_num_format() method, shown below, is used to set the number
format for numbers:
import xlsxwriter
workbook = xlsxwriter.Workbook('currency_format.xlsx')
worksheet = workbook.add_worksheet()
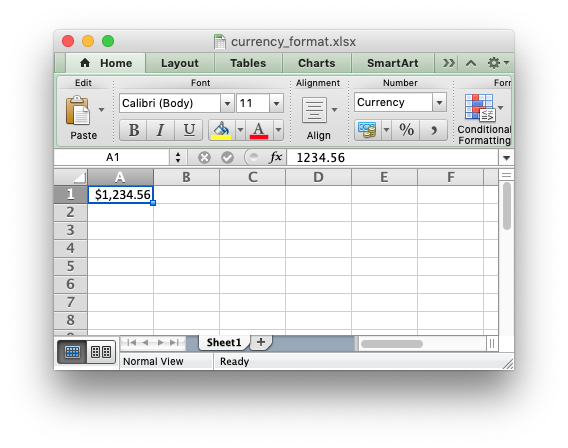
currency_format = workbook.add_format({'num_format': '$#,##0.00'})
worksheet.write('A1', 1234.56, currency_format)
workbook.close()
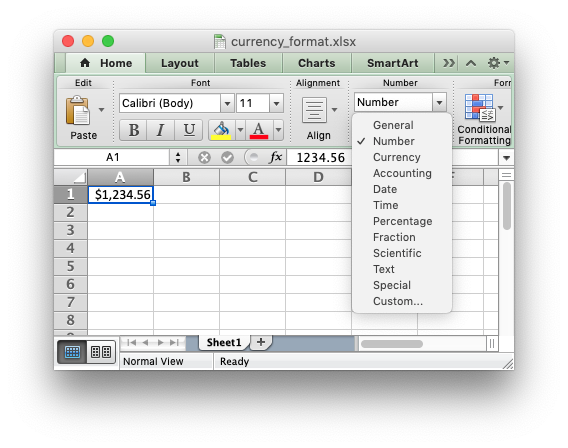
If the number format you use is the same as one of Excel’s built in number formats then it will have a number category such as General, Number, Currency, Accounting, Date, Time, Percentage, Fraction, Scientific, Text, Special or Custom. In the case of the example above the formatted output shows up as a Number category:
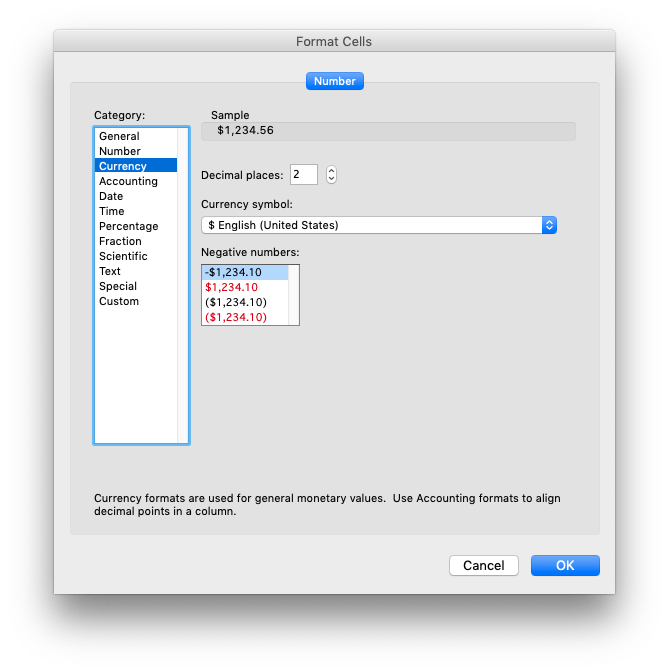
If we wanted it to have a different category, such as Currency, then we would have to match the number format string with the number format used by Excel. The easiest way to do this is to open the Number Formatting dialog in Excel and set the format that you want:
Then, while still in the dialog, change to Custom. The format displayed is the format used by Excel.
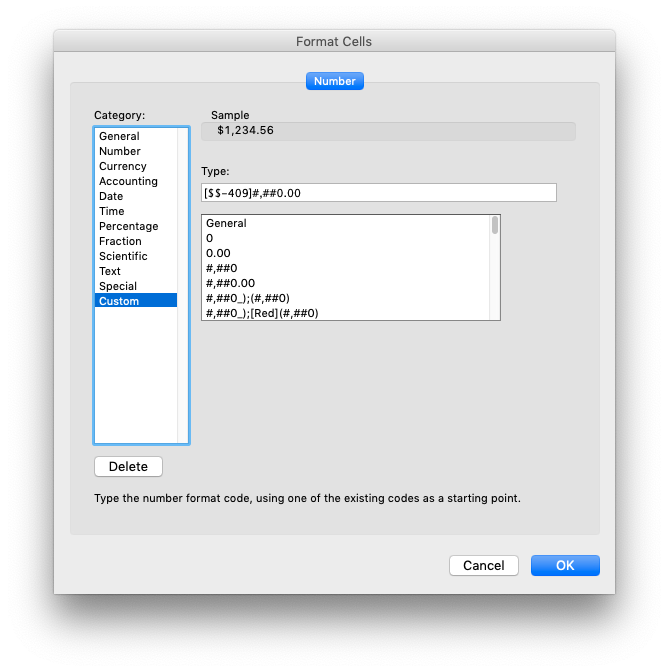
If we put the format that we found ('[$$-409]#,##0.00') into our previous
example and rerun it we will get a number format in the Currency category:
import xlsxwriter

workbook = xlsxwriter.Workbook('currency_format.xlsx')
worksheet = workbook.add_worksheet()

currency_format = workbook.add_format({'num_format': '[$$-409]#,##0.00'})
worksheet.write('A1', 1234.56, currency_format)

workbook.close()
Here is the output:
The same process can be used to find format strings for Date or Accountancy formats. However, you also need to be aware of the OS settings Excel uses for number separators such as the “grouping/thousands” separator and the “decimal” point. See the next section for details.
Number Formats in different locales#
As shown in the previous section the set_num_format() method is used to
set the number format for Xlsxwriter formats. A common use case is to set a
number format with a “grouping/thousands” separator and a “decimal” point:
import xlsxwriter
workbook = xlsxwriter.Workbook('number_format.xlsx')
worksheet = workbook.add_worksheet()
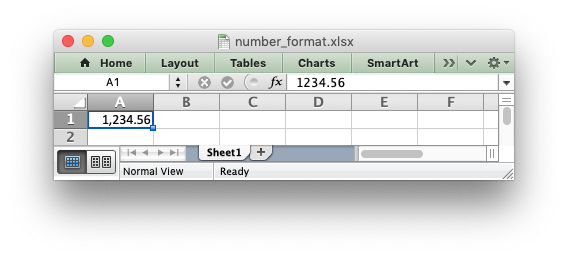
number_format = workbook.add_format({'num_format': '#,##0.00'})
worksheet.write('A1', 1234.56, number_format)
workbook.close()
In the US locale (and some others) where the number “grouping/thousands” separator is “,” and the “decimal” point is “.” this would be shown in Excel as:
In other locales these values may be reversed or different. They are generally
set in the “Region” settings of Windows or Mac OS. Excel handles this by
storing the number format in the file format in the US locale, in this case
#,##0.00, but renders it according to the regional settings of the host
OS. For example, here is the same, unmodified, output file shown above in a
German locale:

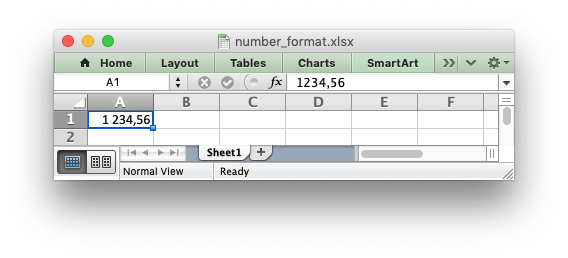
And here is the same file in a Russian locale. Note the use of a space as the “grouping/thousands” separator:
In order to replicate Excel’s behavior all XlsxWriter programs should use US locale formatting which will then be rendered in the settings of your host OS.
Format methods and Format properties#
The following table shows the Excel format categories, the formatting properties that can be applied and the equivalent object method:
Category |
Description |
Property |
Method Name |
|---|---|---|---|
Font |
Font type |
|
|
Font size |
|
||
Font color |
|
||
Bold |
|
||
Italic |
|
||
Underline |
|
||
Strikeout |
|
||
Super/Subscript |
|
||
Number |
Numeric format |
|
|
Protection |
Lock cells |
|
|
Hide formulas |
|
||
Alignment |
Horizontal align |
|
|
Vertical align |
|
||
Rotation |
|
||
Text wrap |
|
||
Reading order |
|
||
Justify last |
|
||
Center across |
|
||
Indentation |
|
||
Shrink to fit |
|
||
Pattern |
Cell pattern |
|
|
Background color |
|
||
Foreground color |
|
||
Border |
Cell border |
|
|
Bottom border |
|
||
Top border |
|
||
Left border |
|
||
Right border |
|
||
Border color |
|
||
Bottom color |
|
||
Top color |
|
||
Left color |
|
||
Right color |
|
||
Other |
Cell border |
|
|
Checkbox format |
|
The format properties and methods are explained in the following sections.
format.set_font_name()#
- set_font_name(fontname)#
Set the font used in the cell.
- Parameters:
fontname (string) – Cell font.
Specify the font used used in the cell format:
cell_format.set_font_name('Times New Roman')
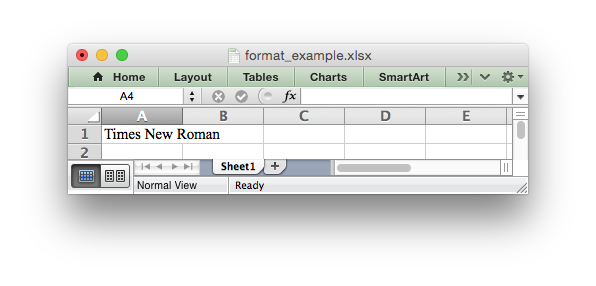
Excel can only display fonts that are installed on the system that it is running on. Therefore it is best to use the fonts that come as standard such as ‘Calibri’, ‘Times New Roman’ and ‘Courier New’.
The default font for an unformatted cell in Excel 2007+ is ‘Calibri’.
format.set_font_size()#
- set_font_size(size)#
Set the size of the font used in the cell.
- Parameters:
size (int) – The cell font size.
Set the font size of the cell format:
cell_format = workbook.add_format()
cell_format.set_font_size(30)
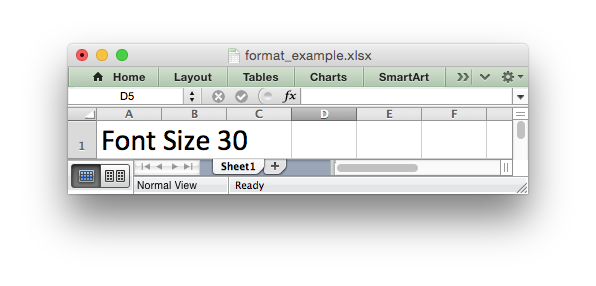
Excel adjusts the height of a row to accommodate the largest font size in the
row. You can also explicitly specify the height of a row using the
set_row() worksheet method.
format.set_font_color()#
- set_font_color(color)#
Set the color of the font used in the cell.
- Parameters:
color (string|Color) – The cell font color.
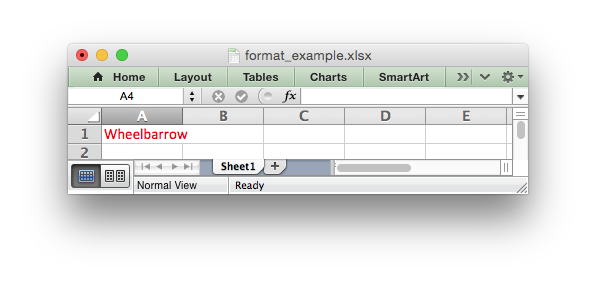
Set the font color:
cell_format = workbook.add_format()

cell_format.set_font_color('red')

worksheet.write(0, 0, 'Wheelbarrow', cell_format)
The color can be a Color() instance, a HTML style #RRGGBB
string or a limited number of named colors, see Working with Colors.
Note: The set_font_color() method is used to set the color of the font
in a cell. To set the color of a cell use the set_bg_color() and
set_pattern() methods.
format.set_bold()#
- set_bold()#
Turn on bold for the format font.
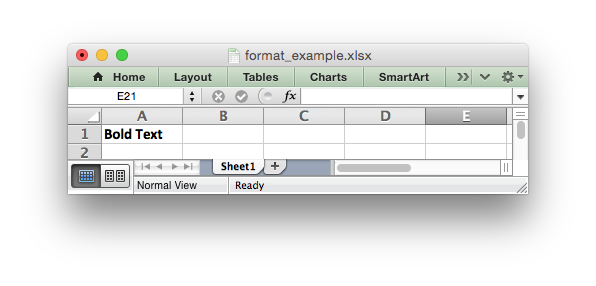
Set the bold property of the font:
cell_format.set_bold()
format.set_italic()#
- set_italic()#
Turn on italic for the format font.
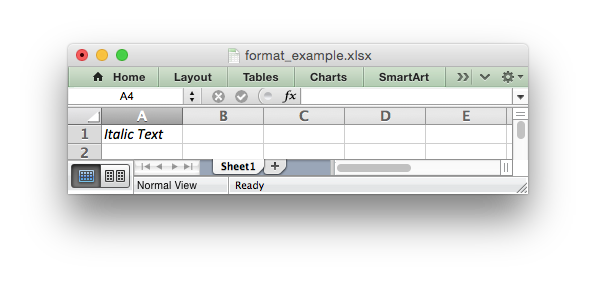
Set the italic property of the font:
cell_format.set_italic()
format.set_underline()#
Set the underline property of the format:
cell_format.set_underline()

The available underline styles are:
1 = Single underline (the default)
2 = Double underline
33 = Single accounting underline
34 = Double accounting underline
format.set_font_strikeout()#
- set_font_strikeout()#
Set the strikeout property of the font.
format.set_font_script()#
- set_font_script()#
Set the superscript/subscript property of the font.
The available options are:
1 = Superscript
2 = Subscript
This property is generally only useful when used in conjunction with
write_rich_string().
format.set_num_format()#
- set_num_format(format_string)#
Set the number format for a cell.
- Parameters:
format_string (string) – The cell number format.
This method is used to define the numerical format of a number in Excel. It controls whether a number is displayed as an integer, a floating point number, a date, a currency value or some other user defined format.
The numerical format of a cell can be specified by using a format string or an index to one of Excel’s built-in formats:
cell_format1 = workbook.add_format()
cell_format2 = workbook.add_format()

cell_format1.set_num_format('d mmm yyyy')  # Format string.
cell_format2.set_num_format(0x0F)          # Format index.
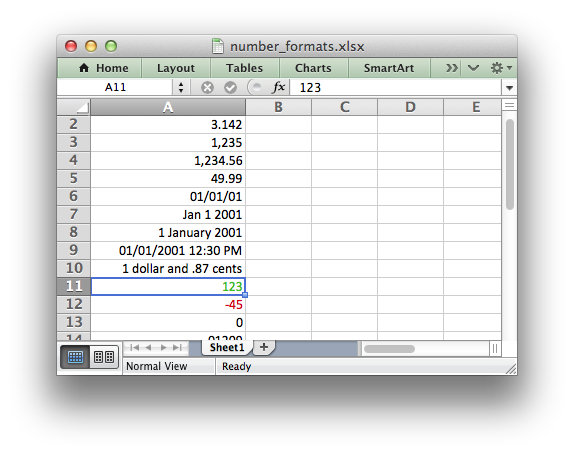
Format strings can control any aspect of number formatting allowed by Excel:
cell_format01.set_num_format('0.000')
worksheet.write(1, 0, 3.1415926, cell_format01)       # -> 3.142

cell_format02.set_num_format('#,##0')
worksheet.write(2, 0, 1234.56, cell_format02)         # -> 1,235

cell_format03.set_num_format('#,##0.00')
worksheet.write(3, 0, 1234.56, cell_format03)         # -> 1,234.56

cell_format04.set_num_format('0.00')
worksheet.write(4, 0, 49.99, cell_format04)           # -> 49.99

cell_format05.set_num_format('mm/dd/yy')
worksheet.write(5, 0, 36892.521, cell_format05)       # -> 01/01/01

cell_format06.set_num_format('mmm d yyyy')
worksheet.write(6, 0, 36892.521, cell_format06)       # -> Jan 1 2001

cell_format07.set_num_format('d mmmm yyyy')
worksheet.write(7, 0, 36892.521, cell_format07)       # -> 1 January 2001

cell_format08.set_num_format('dd/mm/yyyy hh:mm AM/PM')
worksheet.write(8, 0, 36892.521, cell_format08)       # -> 01/01/2001 12:30 PM

cell_format09.set_num_format('0 "dollar and" .00 "cents"')
worksheet.write(9, 0, 1.87, cell_format09)            # -> 1 dollar and .87 cents

# Conditional numerical formatting.
cell_format10.set_num_format('[Green]General;[Red]-General;General')
worksheet.write(10, 0, 123, cell_format10)  # > 0 Green
worksheet.write(11, 0, -45, cell_format10)  # < 0 Red
worksheet.write(12, 0,   0, cell_format10)  # = 0 Default color

# Zip code.
cell_format11.set_num_format('00000')
worksheet.write(13, 0, 1209, cell_format11)
The number system used for dates is described in Working with Dates and Time.
The color format should have one of the following values:
[Black] [Blue] [Cyan] [Green] [Magenta] [Red] [White] [Yellow]
For more information refer to the Microsoft documentation on cell formats.
For information on how to get a number format to show up as one of the number format categories such as Currency, Accounting, Date, Time, Percentage, Fraction, Scientific or Text, see Number Format Categories, above.
For backwards compatibility XlsxWriter also supports Excel’s built-in formats which are set via an index number, rather than a string:
cell_format.set_num_format(3) # Same as #,##0
The format indexes and the equivalent strings are shown in the following table:
Index |
Format String |
|---|---|
0 |
|
1 |
|
2 |
|
3 |
|
4 |
|
5 |
|
6 |
|
7 |
|
8 |
|
9 |
|
10 |
|
11 |
|
12 |
|
13 |
|
14 |
|
15 |
|
16 |
|
17 |
|
18 |
|
19 |
|
20 |
|
21 |
|
22 |
|
… |
… |
37 |
|
38 |
|
39 |
|
40 |
|
41 |
|
42 |
|
43 |
|
44 |
|
45 |
|
46 |
|
47 |
|
48 |
|
49 |
|
Numeric formats 23 to 36 are not documented by Microsoft and may differ in international versions. The listed date and currency formats may also vary depending on system settings.
The dollar sign in the above format usually appears as the defined local currency symbol. To get more locale specific formatting see see Number Format Categories, above.
format.set_locked()#
- set_locked(state)#
Set the cell locked state.
- Parameters:
state (bool) – Turn cell locking on or off. Defaults to True.
This property can be used to prevent modification of a cell’s contents.
Following Excel’s convention, cell locking is turned on by default. However,
it only has an effect if the worksheet has been protected using the worksheet
protect() method:
locked = workbook.add_format()
locked.set_locked(True)

unlocked = workbook.add_format()
unlocked.set_locked(False)

# Enable worksheet protection
worksheet.protect()

# This cell cannot be edited.
worksheet.write('A1', '=1+2', locked)

# This cell can be edited.
worksheet.write('A2', '=1+2', unlocked)
format.set_align()#
- set_align(alignment)#
Set the alignment for data in the cell.
- Parameters:
alignment (string) – The vertical and or horizontal alignment direction.
This method is used to set the horizontal and vertical text alignment within a cell. The following are the available horizontal alignments:
Horizontal alignment |
|---|
left |
center |
right |
fill |
justify |
center_across |
distributed |
The following are the available vertical alignments:
Vertical alignment |
|---|
top |
vcenter |
bottom |
vjustify |
vdistributed |
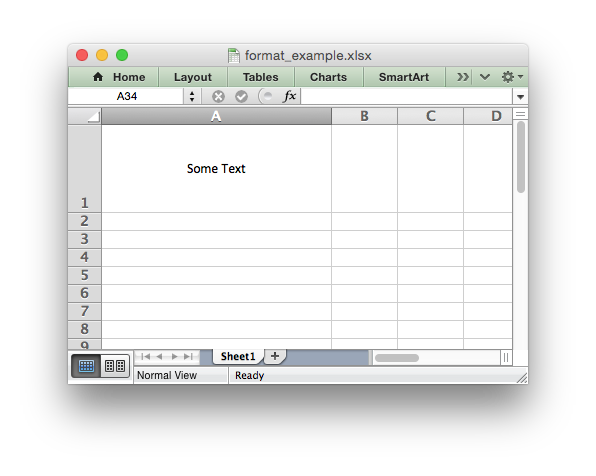
As in Excel, vertical and horizontal alignments can be combined:
cell_format = workbook.add_format()

cell_format.set_align('center')
cell_format.set_align('vcenter')

worksheet.set_row(0, 70)
worksheet.set_column('A:A', 30)

worksheet.write(0, 0, 'Some Text', cell_format)
Text can be aligned across two or more adjacent cells using the
'center_across' property. However, for genuine merged cells it is better
to use the merge_range() worksheet method.
The 'vjustify' (vertical justify) option can be used to provide automatic
text wrapping in a cell. The height of the cell will be adjusted to
accommodate the wrapped text. To specify where the text wraps use the
set_text_wrap() method.
format.set_center_across()#
- set_center_across()#
Center text across adjacent cells.
Text can be aligned across two or more adjacent cells using the
set_center_across() method. This is an alias for the
set_align('center_across') method call.
Only the leftmost cell should contain the text. The other cells in the range should be blank but should include the formatting:
cell_format = workbook.add_format()
cell_format.set_center_across()

worksheet.write(1, 1, 'Center across selection', cell_format)
worksheet.write_blank(1, 2, '', cell_format)
For actual merged cells it is better to use the merge_range() worksheet
method.
format.set_text_wrap()#
- set_text_wrap()#
Wrap text in a cell.
Turn text wrapping on for text in a cell:
cell_format = workbook.add_format()
cell_format.set_text_wrap()

worksheet.write(0, 0, "Some long text to wrap in a cell", cell_format)
If you wish to control where the text is wrapped you can add newline characters to the string:
worksheet.write(2, 0, "It's\na bum\nwrap", cell_format)
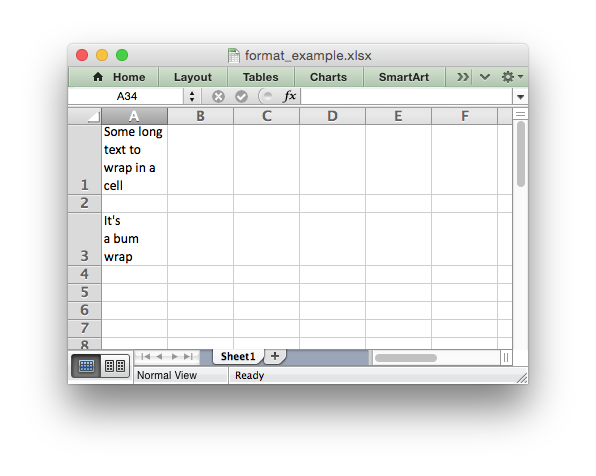
Excel will adjust the height of the row to accommodate the wrapped text, as shown in the image above. This can be useful but it can also have unwanted side-effects:
Objects such as images or charts that cross the automatically adjusted cells will not be scaled correctly. See Object scaling due to automatic row height adjustment.
You may not want the row height to change. In that case you should set the row height to a non-default value such as 15.001.
format.set_rotation()#
- set_rotation(angle)#
Set the rotation of the text in a cell.
- Parameters:
angle (int) – Rotation angle in the range -90 to 90 and 270.
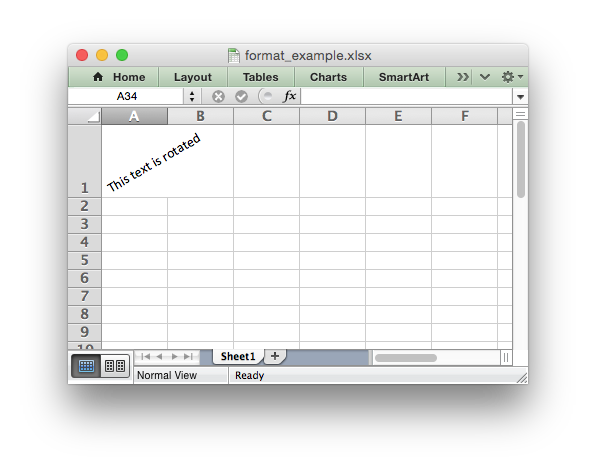
Set the rotation of the text in a cell. The rotation can be any angle in the range -90 to 90 degrees:
cell_format = workbook.add_format()
cell_format.set_rotation(30)

worksheet.write(0, 0, 'This text is rotated', cell_format)
The angle 270 is also supported. This indicates text where the letters run from top to bottom.
format.set_reading_order()#
- set_reading_order(direction)#
Set the reading order for the text in a cell.
- Parameters:
direction (int) – Reading order direction.
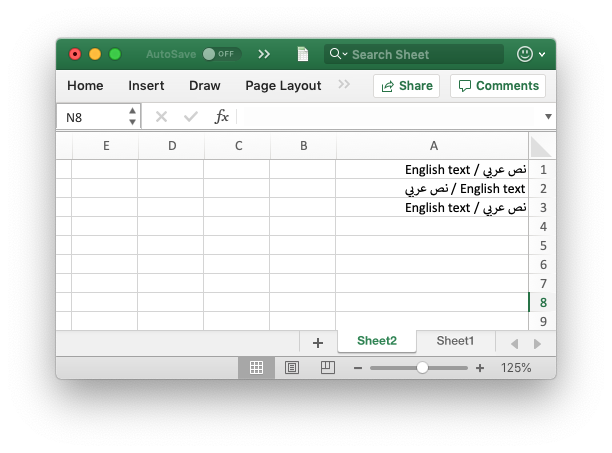
Set the text reading direction. This is useful when creating Arabic, Hebrew or
other near or far eastern worksheets. It can be used in conjunction with the
Worksheet right_to_left() method to also change the direction of the
worksheet.
format_left_to_right = workbook.add_format()
format_left_to_right.set_reading_order(1)

format_right_to_left = workbook.add_format()
format_right_to_left.set_reading_order(2)

worksheet.right_to_left()

worksheet.write('A1', 'نص عربي / English text')  # Default direction.
worksheet.write('A2', 'نص عربي / English text', format_left_to_right)
worksheet.write('A3', 'نص عربي / English text', format_right_to_left)
format.set_indent()#
- set_indent(level)#
Set the cell text indentation level.
- Parameters:
level (int) – Indentation level.
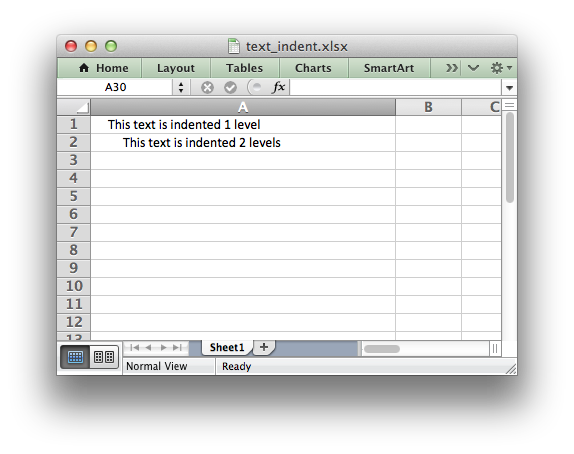
This method can be used to indent text in a cell. The argument, which should be an integer, is taken as the level of indentation:
cell_format1 = workbook.add_format()
cell_format2 = workbook.add_format()

cell_format1.set_indent(1)
cell_format2.set_indent(2)

worksheet.write('A1', 'This text is indented 1 level',  cell_format1)
worksheet.write('A2', 'This text is indented 2 levels', cell_format2)
Indentation is a horizontal alignment property. It will override any other horizontal properties but it can be used in conjunction with vertical properties.
format.set_shrink()#
- set_shrink()#
Turn on the text “shrink to fit” for a cell.
This method can be used to shrink text so that it fits in a cell:
cell_format = workbook.add_format()
cell_format.set_shrink()

worksheet.write(0, 0, 'Honey, I shrunk the text!', cell_format)
format.set_text_justlast()#
- set_text_justlast()#
Turn on the justify last text property.
Only applies to Far Eastern versions of Excel.
format.set_pattern()#
Set the background pattern of a cell.
The most common pattern is 1 which is a solid fill of the background color.
format.set_bg_color()#
- set_bg_color(color)#
Set the color of the background pattern in a cell.
- Parameters:
color (string|Color) – The cell background color.
The set_bg_color() method can be used to set the background color of a
pattern. Patterns are defined via the set_pattern() method. If a pattern
hasn’t been defined then a solid fill pattern is used as the default.
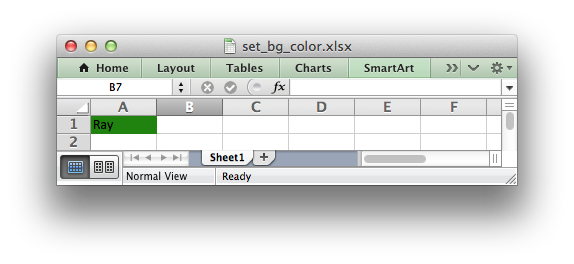
Here is an example of how to set up a solid fill in a cell:
cell_format = workbook.add_format()

cell_format.set_pattern(1)  # This is optional when using a solid fill.
cell_format.set_bg_color('green')

worksheet.write('A1', 'Ray', cell_format)
The color can be a Color() instance, a HTML style #RRGGBB
string or a limited number of named colors, see Working with Colors.
format.set_fg_color()#
- set_fg_color(color)#
Set the color of the foreground pattern in a cell.
- Parameters:
color (string|Color) – The cell foreground color.
The set_fg_color() method can be used to set the foreground color of a
pattern.
The color can be a Color() instance, a HTML style #RRGGBB
string or a limited number of named colors, see Working with Colors.
format.set_border()#
- set_border(style)#
Set the cell border style.
- Parameters:
style (int) – Border style index. Default is 1.
Individual border elements can be configured using the following methods with the same parameters:
A cell border is comprised of a border on the bottom, top, left and right.
These can be set to the same value using set_border() or individually
using the relevant method calls shown above.
The following shows the border styles sorted by XlsxWriter index number:
Index |
Name |
Weight |
Style |
|---|---|---|---|
0 |
None |
0 |
|
1 |
Continuous |
1 |
|
2 |
Continuous |
2 |
|
3 |
Dash |
1 |
|
4 |
Dot |
1 |
|
5 |
Continuous |
3 |
|
6 |
Double |
3 |
|
7 |
Continuous |
0 |
|
8 |
Dash |
2 |
|
9 |
Dash Dot |
1 |
|
10 |
Dash Dot |
2 |
|
11 |
Dash Dot Dot |
1 |
|
12 |
Dash Dot Dot |
2 |
|
13 |
SlantDash Dot |
2 |
|
The following shows the borders in the order shown in the Excel Dialog:
Index |
Style |
Index |
Style |
|---|---|---|---|
0 |
None |
12 |
|
7 |
|
13 |
|
4 |
|
10 |
|
11 |
|
8 |
|
9 |
|
2 |
|
3 |
|
5 |
|
1 |
|
6 |
|
format.set_bottom()#
- set_bottom(style)#
Set the cell bottom border style.
- Parameters:
style (int) – Border style index. Default is 1.
Set the cell bottom border style. See set_border() for details on the
border styles.
format.set_top()#
- set_top(style)#
Set the cell top border style.
- Parameters:
style (int) – Border style index. Default is 1.
Set the cell top border style. See set_border() for details on the
border styles.
format.set_left()#
- set_left(style)#
Set the cell left border style.
- Parameters:
style (int) – Border style index. Default is 1.
Set the cell left border style. See set_border() for details on the
border styles.
format.set_right()#
- set_right(style)#
Set the cell right border style.
- Parameters:
style (int) – Border style index. Default is 1.
Set the cell right border style. See set_border() for details on the
border styles.
format.set_border_color()#
- set_border_color(color)#
Set the color of the cell border.
- Parameters:
color (string|Color) – The cell border color.
Individual border elements can be configured using the following methods with the same parameters:
Set the color of the cell borders. A cell border is comprised of a border on
the bottom, top, left and right. These can be set to the same color using
set_border_color() or individually using the relevant method calls shown
above.
The color can be a Color() instance, a HTML style #RRGGBB
string or a limited number of named colors, see Working with Colors.
format.set_bottom_color()#
- set_bottom_color(color)#
Set the color of the bottom cell border.
- Parameters:
color (string|Color) – The cell border color.
See set_border_color() for details on the border colors.
format.set_top_color()#
- set_top_color(color)#
Set the color of the top cell border.
- Parameters:
color (string|Color) – The cell border color.
See set_border_color() for details on the border colors.
format.set_left_color()#
- set_left_color(color)#
Set the color of the left cell border.
- Parameters:
color (string|Color) – The cell border color.
See set_border_color() for details on the border colors.
format.set_right_color()#
- set_right_color(color)#
Set the color of the right cell border.
- Parameters:
color (string|Color) – The cell border color.
See set_border_color() for details on the border colors.
format.set_diag_border()#
- set_diag_border(style)#
Set the diagonal cell border style.
- Parameters:
style (int) – Border style index. Default is 1.
Set the style for a diagonal border. The style is the same as those used in
set_border().
See Example: Diagonal borders in cells.
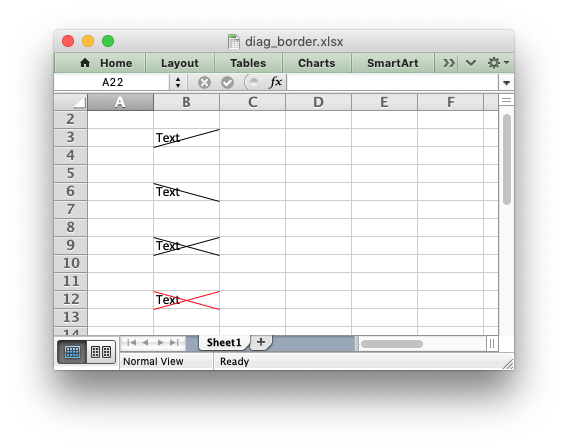
format.set_diag_type()#
- set_diag_type(style)#
Set the diagonal cell border type.
- Parameters:
style (int) – Border type, 1-3. No default.
Set the type of the diagonal border. The style should be one of the following values:
From bottom left to top right.
From top left to bottom right.
Same as type 1 and 2 combined.
format.set_diag_color()#
- set_diag_color(color)#
Set the color of the diagonal cell border.
- Parameters:
color (string|Color) – The cell border color.
See set_border_color() for details on the border colors.
format.set_quote_prefix()#
- set_quote_prefix()#
Turn on quote prefix for the format.
Set the quote prefix property of a format to ensure a string is treated as a string after editing. This is the same as prefixing the string with a single quote in Excel. You don’t need to add the quote to the string but you do need to add the format.
format.set_checkbox()#
- set_checkbox()#
Turn on the checkbox property for the format.
This format property can be used with a cell that contains a boolean value to
display it as a checkbox. This property isn’t required very often and it is
generally easier to create a checkbox using the insert_checkbox() method.