Working with Textboxes#
This section explains how to work with some of the options and features of textboxes in XlsxWriter:
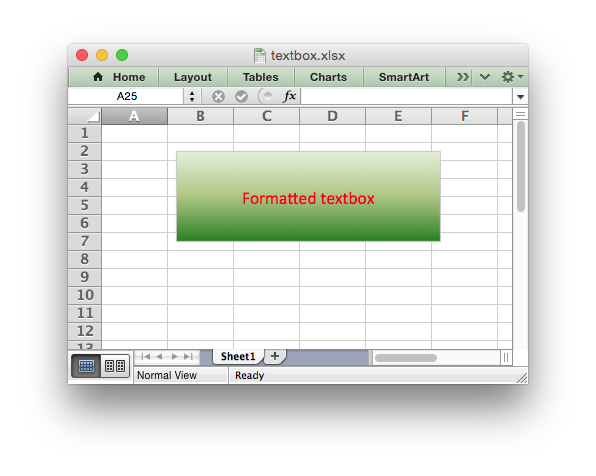
import xlsxwriter

workbook = xlsxwriter.Workbook('textbox.xlsx')
worksheet = workbook.add_worksheet()

text = 'Formatted textbox'

options = {
    'width': 256,
    'height': 100,
    'x_offset': 10,
    'y_offset': 10,

    'font': {'color': 'red',
             'size': 14},
    'align': {'vertical': 'middle',
              'horizontal': 'center'
              },
    'gradient': {'colors': ['#DDEBCF',
                            '#9CB86E',
                            '#156B13']},
}

worksheet.insert_textbox('B2', text, options)

workbook.close()
See also Example: Insert Textboxes into a Worksheet.
Textbox options#
This Worksheet insert_textbox() method is used to insert a textbox
into a worksheet:
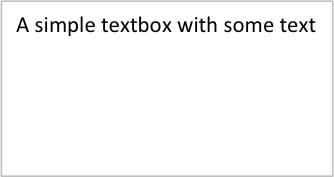
worksheet.insert_textbox('B2', 'A simple textbox with some text')
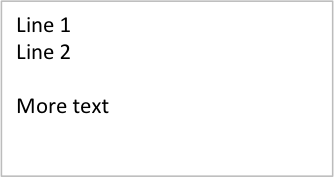
The text can contain newlines to wrap the text:
worksheet.insert_textbox('B2', 'Line 1\nLine 2\n\nMore text')
This insert_textbox() takes an optional dict parameter that can be
used to control the size, positioning and format of the textbox:
worksheet.insert_textbox('B2', 'Some text', {'width': 256, 'height': 100})
The available options are:
# Size and position
width
height
x_scale
y_scale
x_offset
y_offset
object_position

# Formatting
line
border
fill
gradient
font
align
text_rotation

# Links
textlink
url
tip

# Accessibility
description
decorative
These options are explained in the sections below. They are similar or identical to position and formatting parameters used in charts.
Textbox size and positioning#
The insert_textbox() options to control the size and positioning of a
textbox are:
width
height
x_scale
y_scale
x_offset
y_offset
object_position
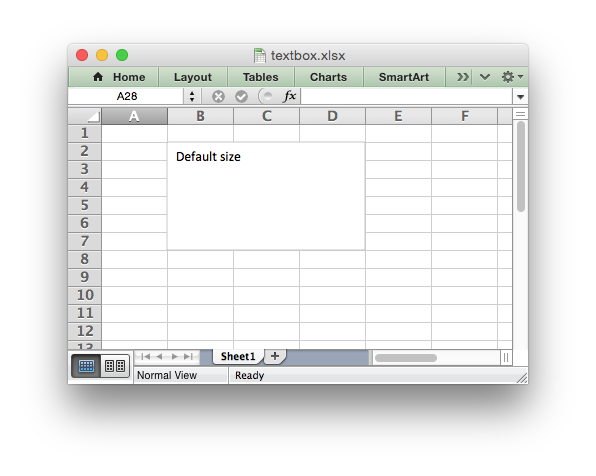
The width and height are in pixels. The default textbox size is 192 x
120 pixels (or equivalent to 3 default columns x 6 default rows).
The size of the textbox can be modified by setting the width and
height or by setting the x_scale and y_scale:
worksheet.insert_textbox('B2', 'Size adjusted textbox',
                         {'width': 288, 'height': 30})

# or ...
worksheet.insert_textbox('B2', 'Size adjusted textbox',
                         {'x_scale': 1.5, 'y_scale': 0.25})

The x_offset and y_offset position the top left corner of the textbox in
the cell that it is inserted into.

The object_position parameter can be used to control the object
positioning of the image:
worksheet.insert_textbox('B2', "Don't move or size with cells",
                         {'object_position': 3})
Where object_position has the following allowable values:
Move and size with cells (the default).
Move but don’t size with cells.
Don’t move or size with cells.
See Working with Object Positioning for more detailed information about the positioning and scaling of images within a worksheet.
Textbox Formatting#
The following formatting properties can be set for textbox objects:
line
border
fill
gradient
font
align
text_rotation
Textbox formatting properties are set using the options dict:
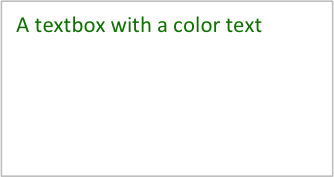
worksheet.insert_textbox('B2', 'A textbox with a color text',
                                {'font': {'color': 'green'}})
In some cases the format properties can be nested:
worksheet.insert_textbox('B2', 'Some text in a textbox with formatting',
                         {'font': {'color': 'white'},
                          'align': {'vertical': 'middle',
                                    'horizontal': 'center'
                                    },
                          'gradient': {'colors': ['green', 'white']}})

Textbox formatting: Line#
The line format is used to specify properties of the border in a textbox. The
following properties can be set for line formats in a textbox:
none
color
width
dash_type
The none property is used to turn the line off (it is always on by
default):
worksheet.insert_textbox('B2', 'A textbox with no border line',
                         {'line': {'none': True}})
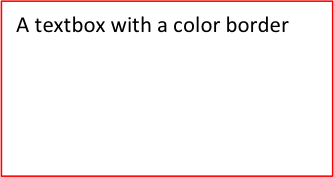
The color property sets the color of the line:
worksheet.insert_textbox('B2', 'A textbox with a color border',
                         {'line': {'color': 'red'}})
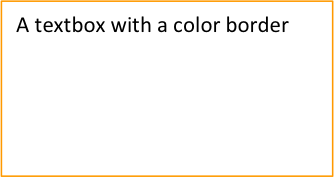
The color can be a Color() instance, a HTML style #RRGGBB
string or a limited number of named colors, see Working with Colors:
worksheet.insert_textbox('B2', 'A textbox with a color border',
                         {'line': {'color': '#FF9900'}})
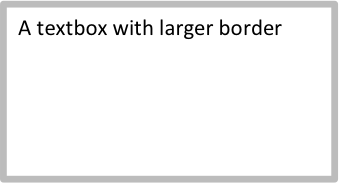
The width property sets the width of the line. It should be specified
in increments of 0.25 of a point as in Excel:
worksheet.insert_textbox('B2', 'A textbox with larger border',
                         {'line': {'width': 3.25}})
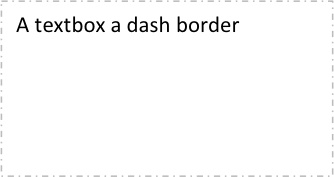
The dash_type property sets the dash style of the line:
worksheet.insert_textbox('B2', 'A textbox a dash border',
                         {'line': {'dash_type': 'dash_dot'}})
The following dash_type values are available. They are shown in the order
that they appear in the Excel dialog:
solid
round_dot
square_dot
dash
dash_dot
long_dash
long_dash_dot
long_dash_dot_dot
The default line style is solid.
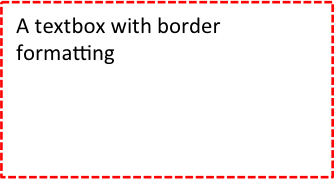
More than one line property can be specified at a time:
worksheet.insert_textbox('B2', 'A textbox with border formatting',
                         {'line': {'color': 'red',
                                   'width': 1.25,
                                   'dash_type': 'square_dot'}})
Textbox formatting: Border#
The border property is a synonym for line.
Excel uses a common dialog for setting object formatting but depending on context it may refer to a line or a border. For formatting these can be used interchangeably.
Textbox formatting: Solid Fill#
The solid fill format is used to specify a fill for a textbox object.
The following properties can be set for fill formats in a textbox:
none
color
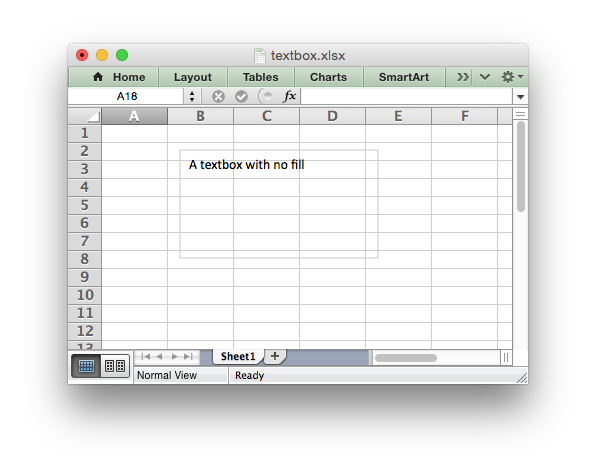
The none property is used to turn the fill property off (to make the
textbox transparent):
worksheet.insert_textbox('B2', 'A textbox with no fill',
                         {'fill': {'none': True}})
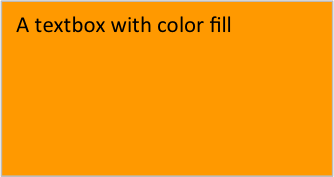
The color property sets the color of the fill area:
worksheet.insert_textbox('B2', 'A textbox with color fill',
                         {'fill': {'color': '#FF9900'}})
The color can be a Color() instance, a HTML style #RRGGBB
string or a limited number of named colors, see Working with Colors:
worksheet.insert_textbox('B2', 'A textbox with color fill',
                         {'fill': {'color': 'red'}})
Textbox formatting: Gradient Fill#
The gradient fill format is used to specify a gradient fill for a textbox. The
following properties can be set for gradient fill formats in a textbox:
colors:    a list of colors
positions: an optional list of positions for the colors
type:      the optional type of gradient fill
angle:     the optional angle of the linear fill
If gradient fill is used on a textbox object it overrides the solid fill properties of the object.
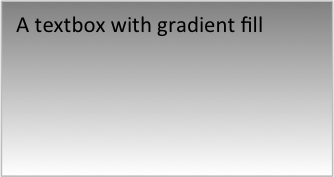
The colors property sets a list of colors that define the gradient:
worksheet.insert_textbox('B2', 'A textbox with gradient fill',
                         {'gradient': {'colors': ['gray', 'white']}})
Excel allows between 2 and 10 colors in a gradient but it is unlikely that you will require more than 2 or 3.
As with solid fill it is also possible to set the colors of a gradient with a
Html style #RRGGBB string or a limited number of named colors, see
Working with Colors:
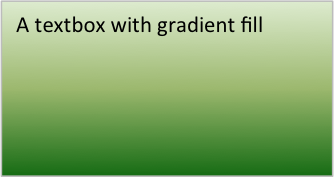
worksheet.insert_textbox('B2', 'A textbox with gradient fill',
                         {'gradient': {'colors': ['#DDEBCF',
                                                  '#9CB86E',
                                                  '#156B13']}})
The positions defines an optional list of positions, between 0 and 100, of
where the colors in the gradient are located. Default values are provided for
colors lists of between 2 and 4 but they can be specified if required:
worksheet.insert_textbox('B2', 'A textbox with gradient fill',
                         {'gradient': {'colors':    ['#DDEBCF', '#156B13'],
                                       'positions': [10,        90]}})
The type property can have one of the following values:
linear        (the default)
radial
rectangular
path
For example:
worksheet.insert_textbox('B2', 'A textbox with gradient fill',
                         {'gradient': {'colors': ['#DDEBCF', '#9CB86E', '#156B13'],
                                       'type': 'radial'}})
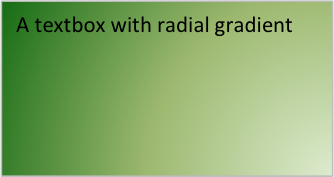
If type isn’t specified it defaults to linear.
For a linear fill the angle of the gradient can also be specified (the
default angle is 90 degrees):
worksheet.insert_textbox('B2', 'A textbox with angle gradient',
                         {'gradient': {'colors': ['#DDEBCF', '#9CB86E', '#156B13'],
                                       'angle': 45}})
Textbox formatting: Fonts#
The following font properties can be set for the entire textbox:
name
size
bold
italic
underline
color
These properties correspond to the equivalent Worksheet cell Format object properties. See the The Format Class section for more details about Format properties and how to set them.
The font properties are:
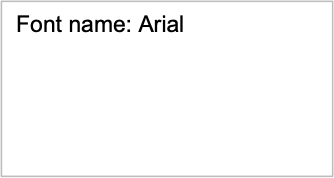
name: Set the font name:{'font': {'name': 'Arial'}}
size: Set the font size:{'font': {'name': 'Arial', 'size': 7}}

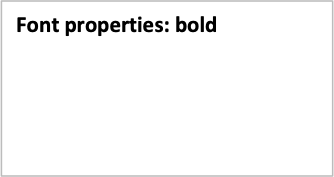
bold: Set the font bold property:{'font': {'bold': True}}
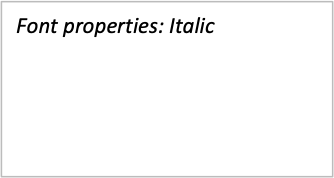
italic: Set the font italic property:{'font': {'italic': True}}
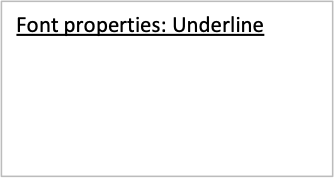
underline: Set the font underline property:{'font': {'underline': True}}
color: Set the font color property. Can be a color index, a color name or HTML style RGB color:{'font': {'color': 'red' }} {'font': {'color': '#92D050'}}
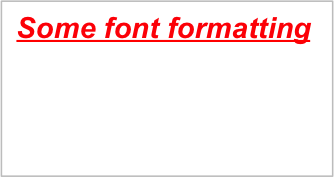
Here is an example of Font formatting in a textbox:
worksheet.insert_textbox('B2', 'Some font formatting',
                         {'font': {'bold': True,
                                   'italic': True,
                                   'underline': True,
                                   'name': 'Arial',
                                   'color': 'red',
                                   'size': 14}})
Textbox formatting: Align#
The align property is used to set the text alignment for the entire textbox:
worksheet.insert_textbox('B2', 'Alignment: middle - center',
                         {'align': {'vertical': 'middle',
                                    'horizontal': 'center'}})

The alignment properties that can be set in Excel for a textbox are:
{'align': {'vertical': 'top'}}      # Default
{'align': {'vertical': 'middle'}}
{'align': {'vertical': 'bottom'}}

{'align': {'horizontal': 'left'}}   # Default
{'align': {'horizontal': 'center'}}

{'align': {'text': 'left'}}         # Default
{'align': {'text': 'center'}}
{'align': {'text': 'right'}}
The vertical and horizontal alignments set the layout for the text
area within the textbox. The text alignment sets the layout for the text
within that text area:
worksheet.insert_textbox('H2',
                         'Long text line that wraps and is centered',
                         {'align': {'vertical': 'middle',
                                    'horizontal': 'center',
                                    'text': 'center'}})

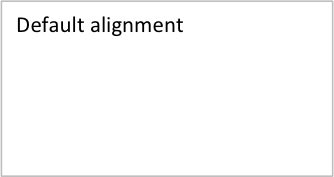
The default textbox alignment is:
worksheet.insert_textbox('B2', 'Default alignment',
                         {'align': {'vertical': 'top',
                                    'horizontal': 'left',
                                    'text': 'left'}})

# Same as this:
worksheet.insert_textbox('B2', 'Default alignment')
Textbox formatting: Text Rotation#
The text_rotation option can be used to set the text rotation for the
entire textbox:
worksheet.insert_textbox('B2', 'Text rotated up',
                         {'text_rotation': 90})
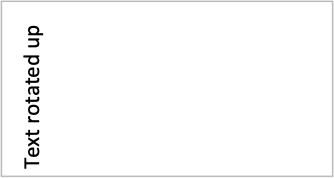
Textboxes in Excel only support a limited number of rotation options. These are:
 90:     Rotate text up
-90:     Rotate text down
270:     Vertical text (stacked)
271:     Vertical text (stacked) - for East Asian fonts
Textbox Textlink#
The textlink property is used to link/get the text for a textbox from a
cell in the worksheet. When you use this option the actual text in the textbox
can be left blank or set to None:
worksheet.insert_textbox('A1', '', {'textlink': '=$A$1'})
The reference can also be to a cell in another worksheet:
worksheet.insert_textbox('A2', None, {'textlink': '=Sheet2!A1'})
Textbox Hyperlink#
The url parameter can used to add a hyperlink/url to a textbox:
worksheet.insert_textbox('A1', 'This is some text',
                         {'url': 'https://github.com/jmcnamara'})
The tip parameter adds an optional mouseover tooltip:
worksheet.insert_textbox('A1', 'This is some text',
                         {'url': 'https://github.com/jmcnamara',
                          'tip': 'GitHub'})
See also write_url() for details on supported URIs.
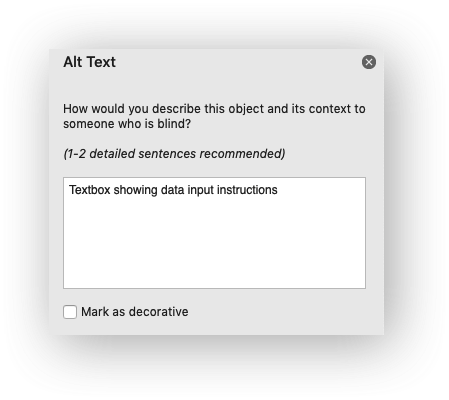
Textbox Description#
The description property can be used to specify a description or “alt
text” string for the textbox. In general this would be used to provide a text
description of the textbox to help accessibility. It is an optional parameter
and has no default. It can be used as follows:
worksheet.insert_textbox('A1', 'This is some text',
                         {'description': 'Textbox showing data input instructions'})
Textbox Decorative#
The optional decorative property is also used to help accessibility. It is
used to mark the object as decorative, and thus uninformative, for automated
screen readers. As in Excel, if this parameter is in use the description
field isn’t written. It is used as follows:
worksheet.insert_textbox('A1', 'This is some text', {'decorative': True})