Working with Cell Comments#
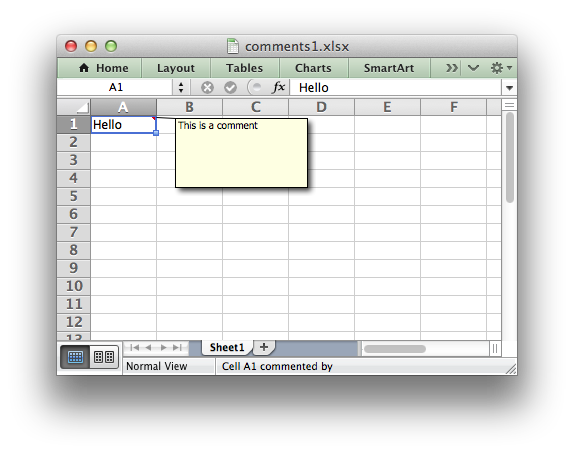
Cell comments are a way of adding notation to cells in Excel. For example:
worksheet.write('A1', 'Hello')
worksheet.write_comment('A1', 'This is a comment')
Setting Comment Properties#
The properties of the cell comment can be modified by passing an optional dictionary of key/value pairs to control the format of the comment. For example:
worksheet.write_comment('C3', 'Hello', {'x_scale': 1.2, 'y_scale': 0.8})
The following options are available:
author
visible
x_scale
width
y_scale
height
color
font_name
font_size
start_cell
start_row
start_col
x_offset
y_offset
The options are explained in detail below:
author: This option is used to indicate who is the author of the cell comment. Excel displays the author of the comment in the status bar at the bottom of the worksheet. This is usually of interest in corporate environments where several people might review and provide comments to a workbook:worksheet.write_comment('C3', 'Atonement', {'author': 'Ian McEwan'})
The default author for all cell comments in a worksheet can be set using the
set_comments_author()method:worksheet.set_comments_author('John Smith')
visible: This option is used to make a cell comment visible when the worksheet is opened. The default behavior in Excel is that comments are initially hidden. However, it is also possible in Excel to make individual comments or all comments visible. In XlsxWriter individual comments can be made visible as follows:worksheet.write_comment('C3', 'Hello', {'visible': True})
It is possible to make all comments in a worksheet visible using the
show_comments()worksheet method. Alternatively, if all of the cell comments have been made visible you can hide individual comments:worksheet.write_comment('C3', 'Hello', {'visible': False})
x_scale: This option is used to set the width of the cell comment box as a factor of the default width:worksheet.write_comment('C3', 'Hello', {'x_scale': 2 }) worksheet.write_comment('C4', 'Hello', {'x_scale': 4.2})
width: This option is used to set the width of the cell comment box explicitly in pixels:worksheet.write_comment('C3', 'Hello', {'width': 200})
y_scale: This option is used to set the height of the cell comment box as a factor of the default height:worksheet.write_comment('C3', 'Hello', {'y_scale': 2 }) worksheet.write_comment('C4', 'Hello', {'y_scale': 4.2})
height: This option is used to set the height of the cell comment box explicitly in pixels:worksheet.write_comment('C3', 'Hello', {'height': 200})
color: This option is used to set the background color of cell comment box. You can use one of the named colors recognized by XlsxWriter or a Html color. See Working with Colors:worksheet.write_comment('C3', 'Hello', {'color': 'green' }) worksheet.write_comment('C4', 'Hello', {'color': '#CCFFCC'})
font_name: This option is used to set the font for the comment:worksheet.write_comment('C3', 'Hello', {'font_name': 'Courier'})
The default font is ‘Tahoma’.
font_size: This option is used to set the font size for the comment:worksheet.write_comment('C3', 'Hello', {'font_size': 10})
The default font size is 8.
start_cell: This option is used to set the cell in which the comment will appear. By default Excel displays comments one cell to the right and one cell above the cell to which the comment relates. However, you can change this behavior if you wish. In the following example the comment which would appear by default in cellD2is moved toE2:worksheet.write_comment('C3', 'Hello', {'start_cell': 'E2'})
start_row: This option is used to set the row in which the comment will appear. See thestart_celloption above. The row is zero indexed:worksheet.write_comment('C3', 'Hello', {'start_row': 0})
start_col: This option is used to set the column in which the comment will appear. See thestart_celloption above. The column is zero indexed:worksheet.write_comment('C3', 'Hello', {'start_col': 4})
x_offset: This option is used to change the x offset, in pixels, of a comment within a cell:worksheet.write_comment('C3', comment, {'x_offset': 30})
y_offset: This option is used to change the y offset, in pixels, of a comment within a cell:worksheet.write_comment('C3', comment, {'y_offset': 30})
You can apply as many of these options as you require. For a working example of these options in use see Example: Adding Cell Comments to Worksheets (Advanced).
Note
Excel only displays offset cell comments when they are displayed as
visible. Excel does not display hidden cells as displaced
when you mouse over them. Please note this when using options that adjust
the position of the cell comment such as start_cell, start_row,
start_col, x_offset and y_offset.
Note
Row height and comments. If you specify the height of a row that
contains a comment then XlsxWriter will adjust the height of the comment
to maintain the default or user specified dimensions. However, the height
of a row can also be adjusted automatically by Excel if the text wrap
property is set or large fonts are used in the cell. This means that
the height of the row is unknown to the module at run time and thus
the comment box is stretched with the row. Use the set_row() method
to specify the row height explicitly and avoid this problem. See example 8
of Example: Adding Cell Comments to Worksheets (Advanced).